Camera bag with tutorial
Today a new bag for my little digital camera. I have photographed all the steps and made a little tutorial. Maybe you fancy sewing?
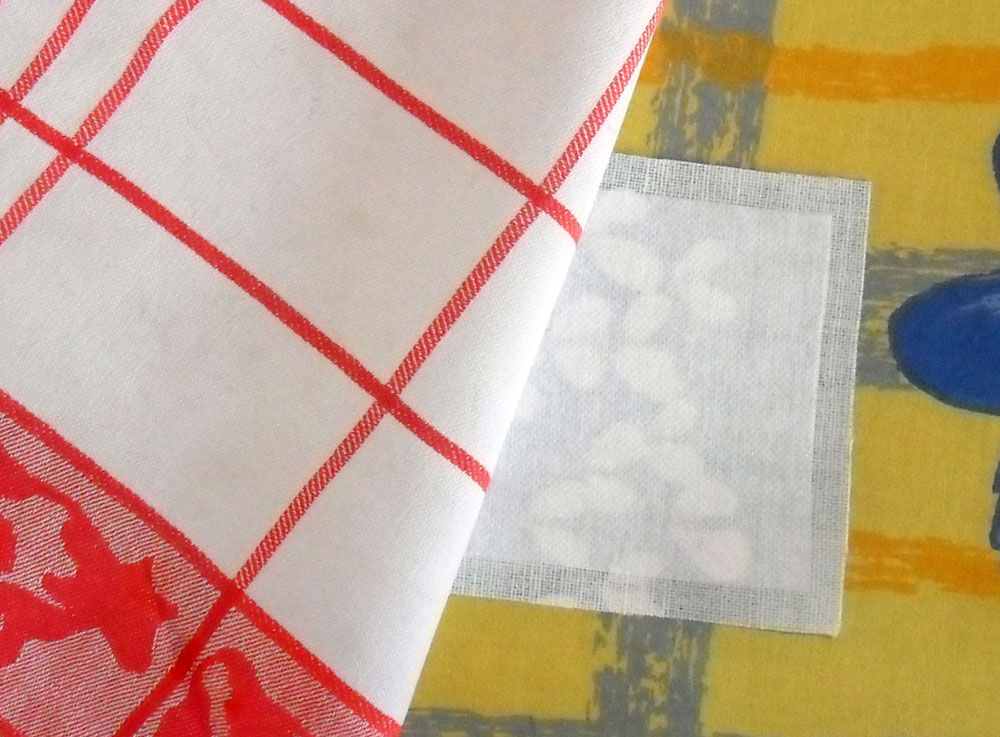
For the bag you need 2 strips of fabric. For the outside pocket it can be a stable cotton fabric. In contrast, the lining should be softer and thinner. You will also need a thin, iron-on interfacing, velcro, a snap hook or key ring and a strap that matches the width of the snap hook.
My camera is approximately 9.5 cm x 6 cm x 2.5 cm. For these dimensions I have a sewing pattern for you:
Of course, this has to be adjusted for a larger camera. But that shouldn't be a problem, the pattern is actually just a rectangle.
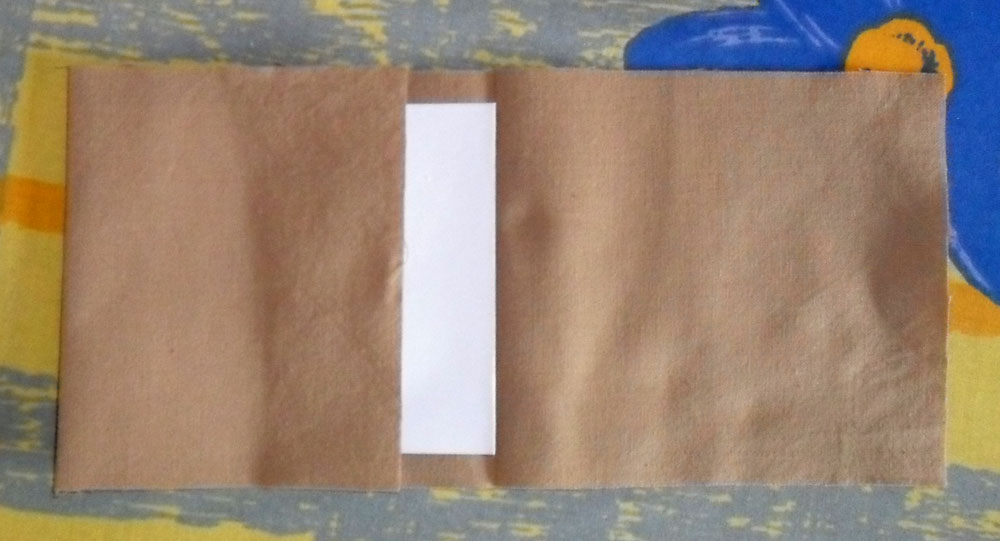
For reasons of space I had to draw two parts on the A4 sheet. Cut out these two parts and glue them together with a strip of adhesive tape.
The smaller part corresponds to the flap, the larger one to the bag.

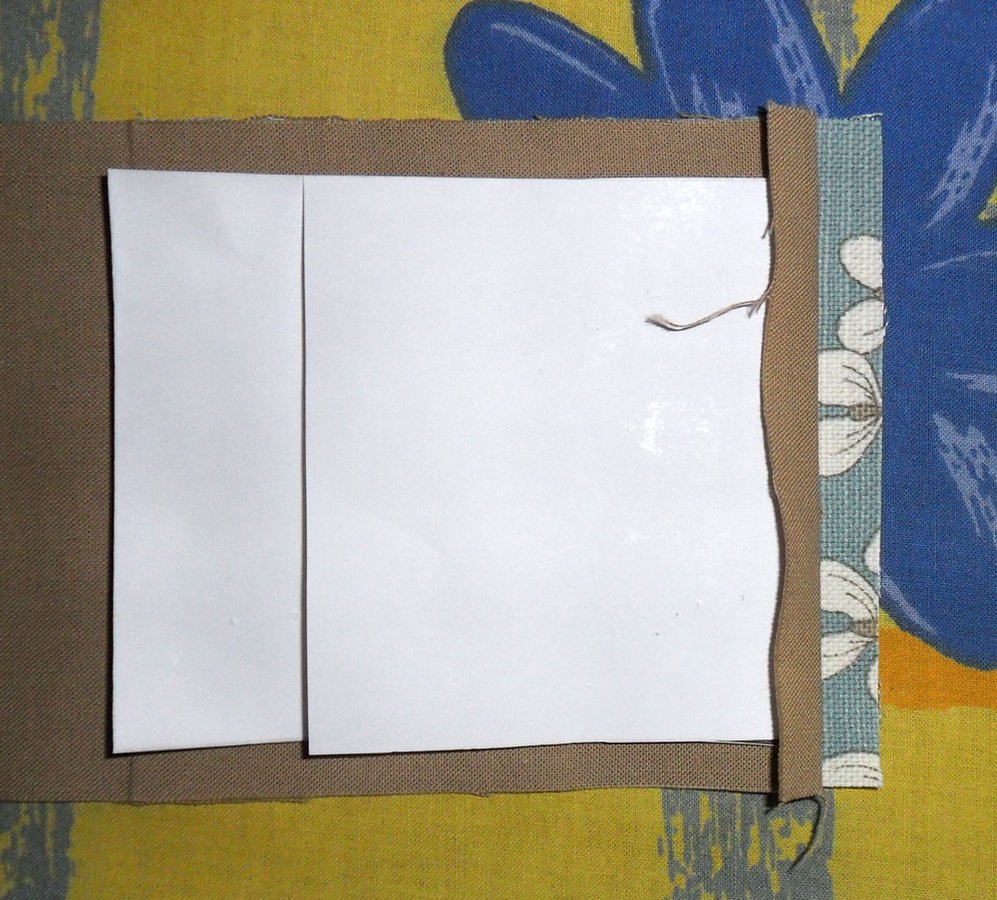
Cut out a part of each of the two fabrics. Add one cm margin all around as a seam allowance. The volume tile is cut out without seam allowance.


With the help of a damp cloth, the interfacing is ironed onto the left side of the outer fabric, right in the middle.
Now we add a few folds to the two pieces of fabric that will later serve as guidelines. First fold the pattern on the dashed lines. Taking the seam allowance into account, the fabric is folded over the pattern and pressed properly. Then open again.

Now fold in the flap on the pattern and place it on the crease you just created. Fold the excess fabric over and press it again. Now we have marked the flap and the bag on both fabrics.
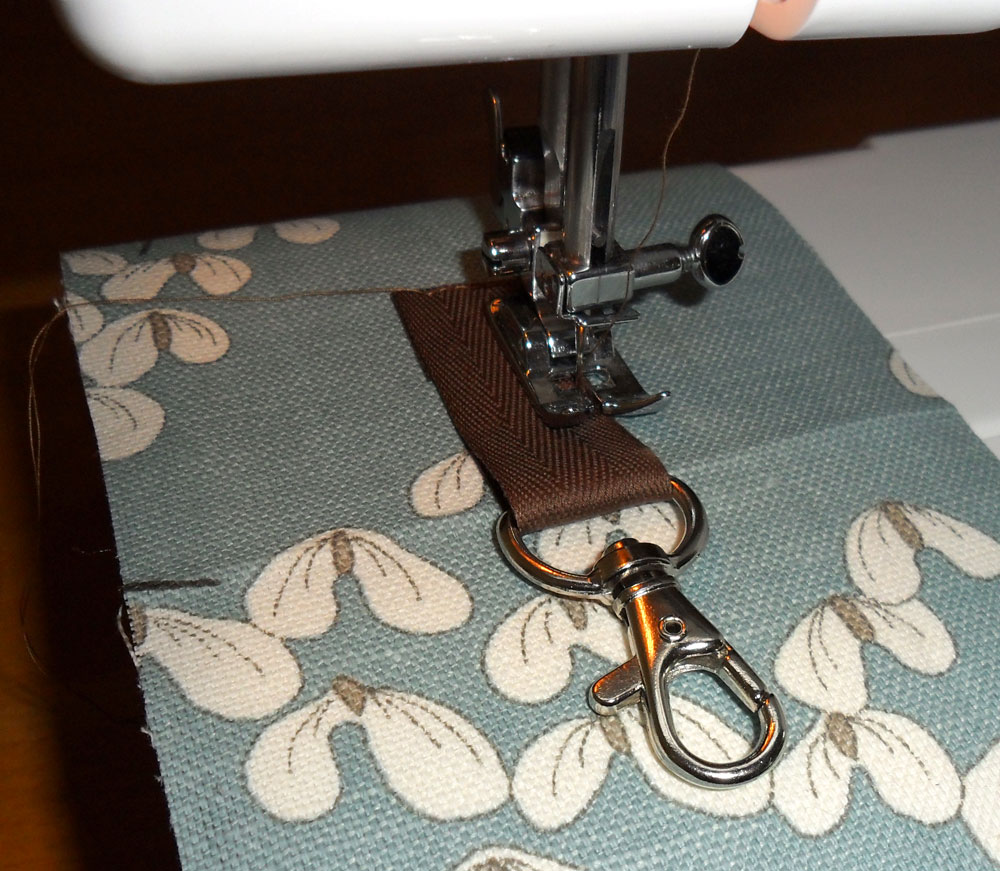
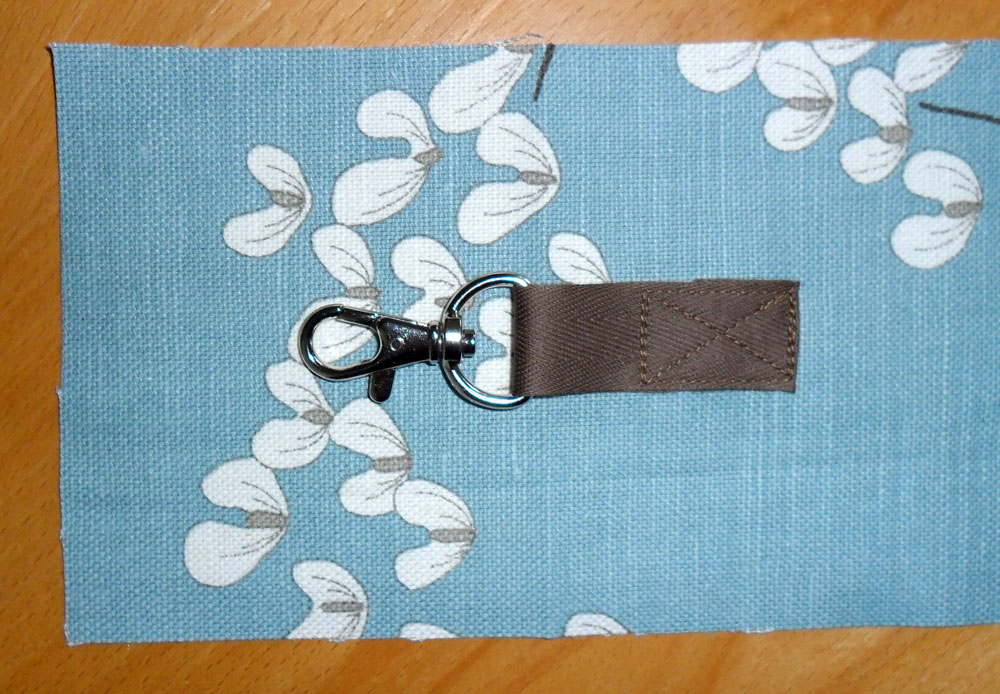
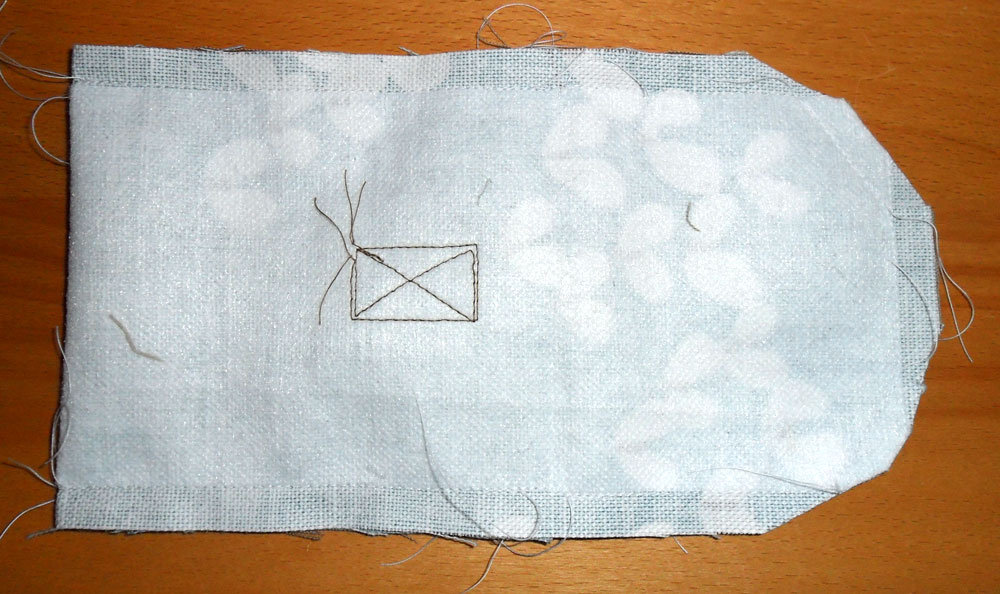
Now we attach the carabiner. Cut off about 12 cm from the tape. Fold the tape, leaving about 2 cm on one side. Thread on the carabiner. The protruding end is folded over and the whole thing is stuck on the outer fabric. You can see the correct position in the picture. On the left the tape is slightly above the fold to the narrower part of the fabric.
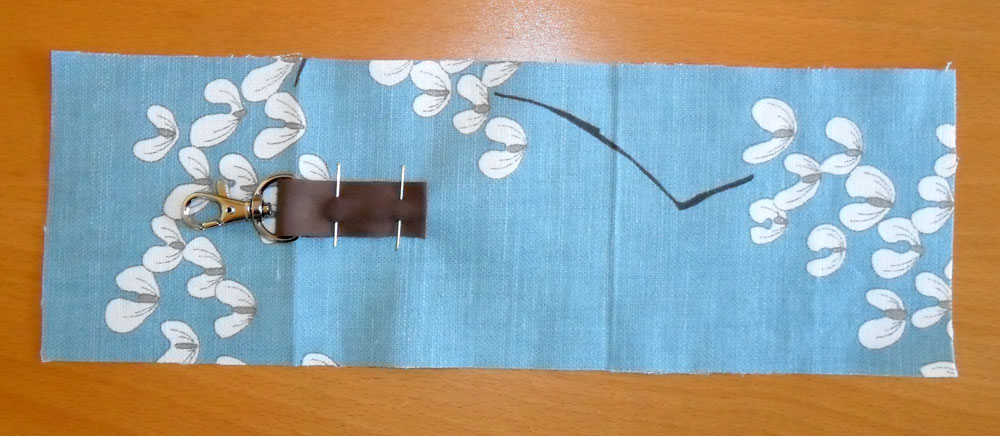
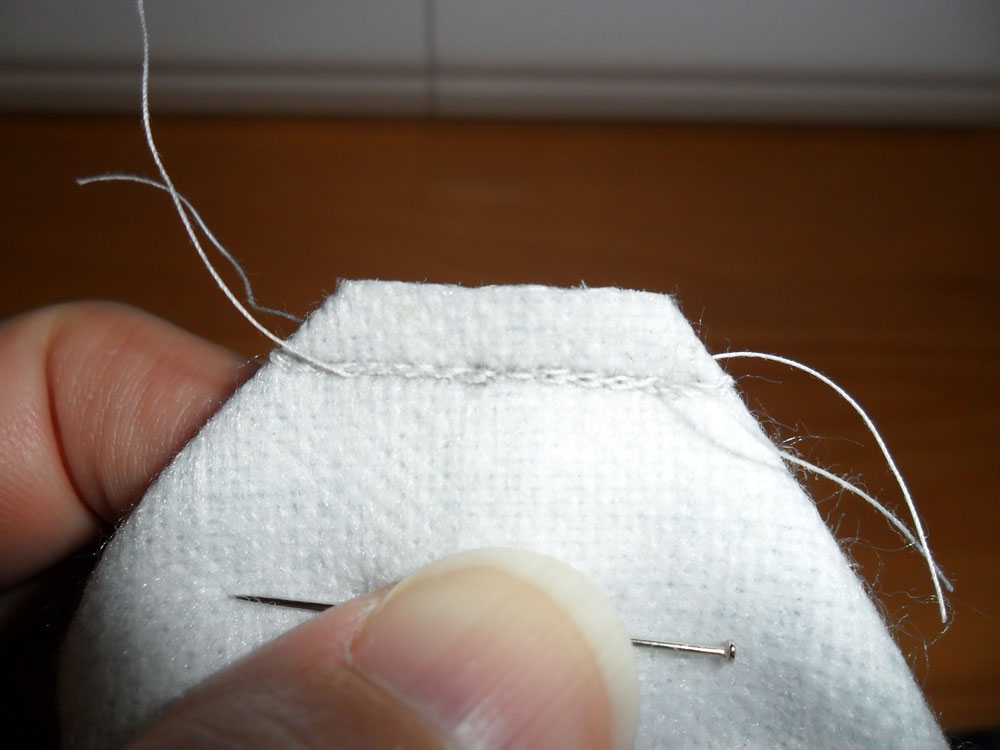
Sew on the tape. The weight of the camera depends on this later, so it is better to put a few extra seams. Use a hand sewing needle to pull the protruding thread ends inwards.
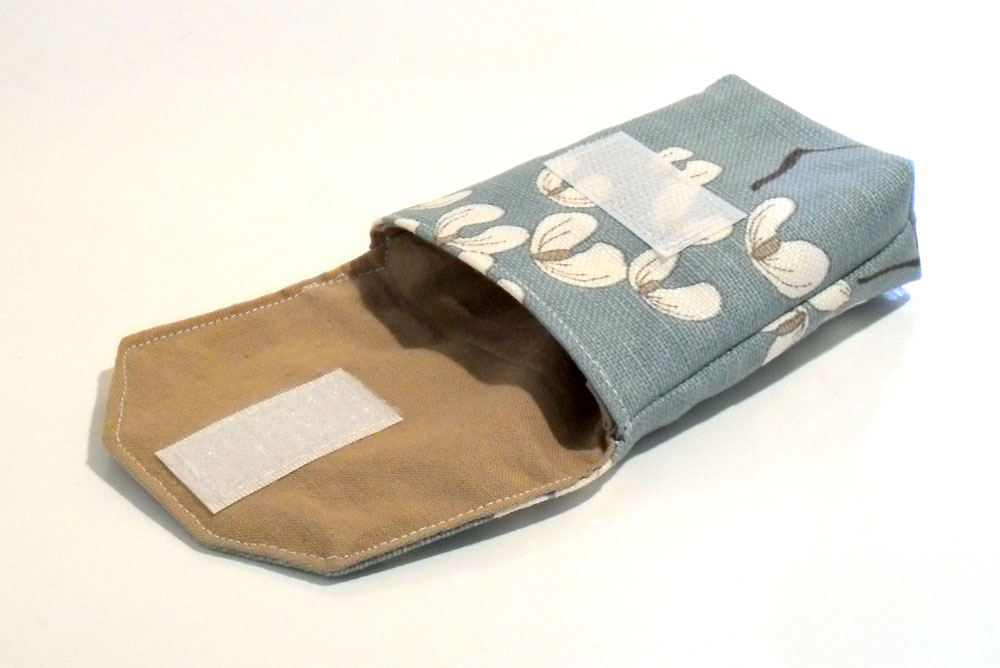
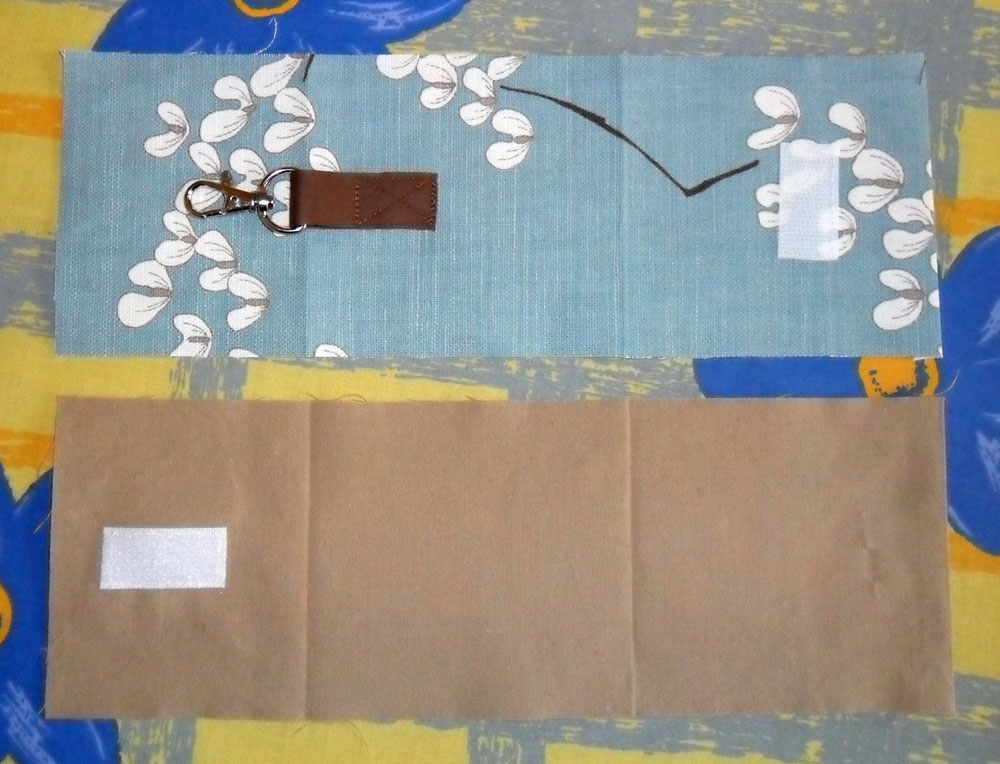
Now we attach the Velcro. We need 3-4 cm from both sides. One side comes on the outer fabric, horizontally about 2.5 cm below the edge of the temple. The other is placed vertically on the lining material, about 2 cm below the outer edge of the lid. Sew both parts all around and pull the protruding threads back inside.

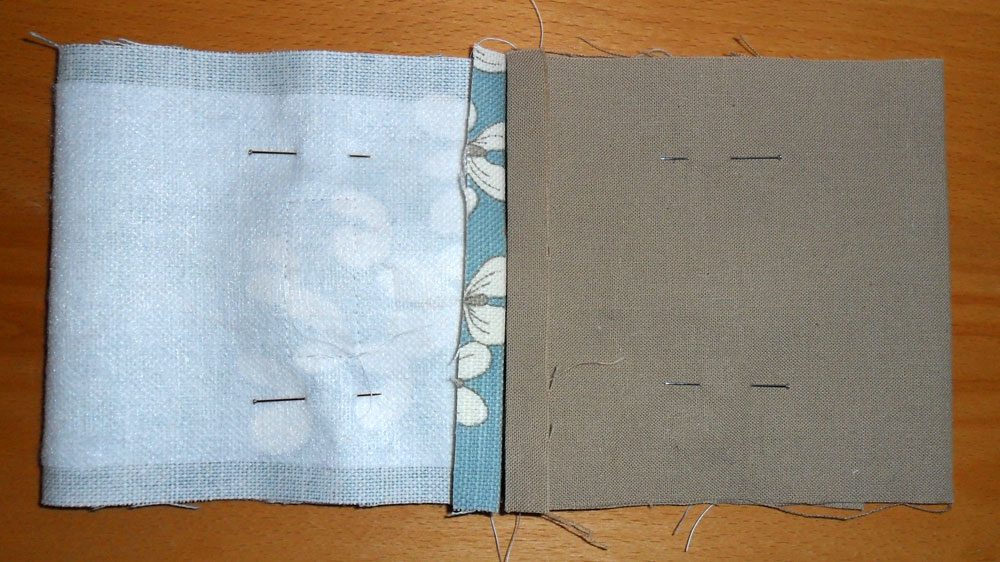
These two parts are then placed on top of each other so that the two flaps come to lie on the right and on the right. The two ironed edges should lie on each other as precisely as possible. Pin the flap and then stitch on the three outer edges. Caution, the needle must not stick into the fabric of the pocket parts, it is now only about the flap. In the picture below left, the three seams are marked with a line.
I sewed the two corners diagonally again, but that doesn't have to be the case.
Regardless of this, you should cut the corners or cut to the seam, then it won't clump afterwards when turning. The seam must not be injured!

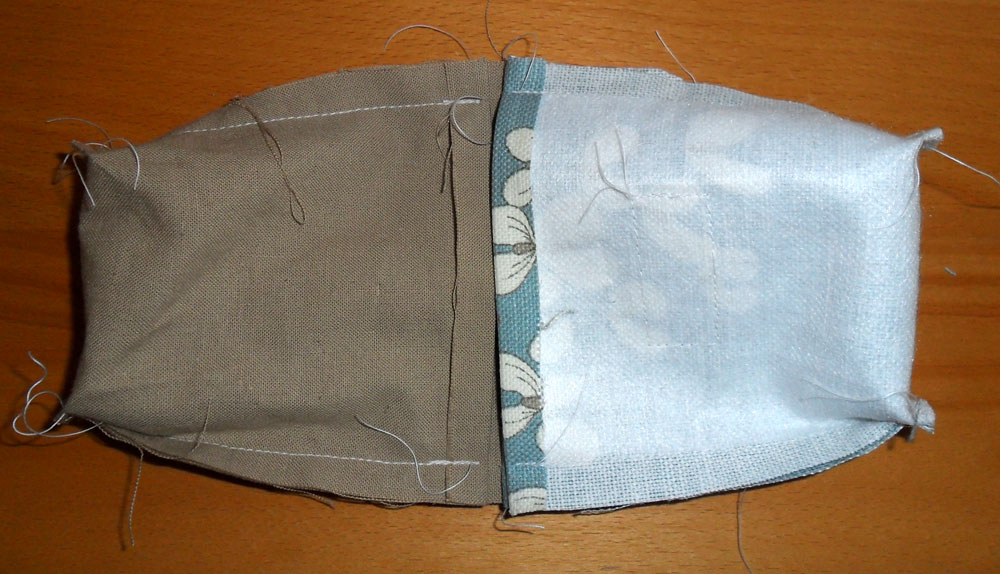
Now we unfold the parts again and sew the two parts of the bag. We only need to sew the two outer seams. The flap must be folded to the opposite side so that it is not accidentally sewn on.
Then the corners are shaped. To do this, we grab a corner and press together so that the seam comes to rest on the edge of the temple.

We are nearly finished!
Due to the open side with the folded edges, the outer pocket is turned. Press out the corners well with a pencil.
Then flip the flap, and shape the corners, too.
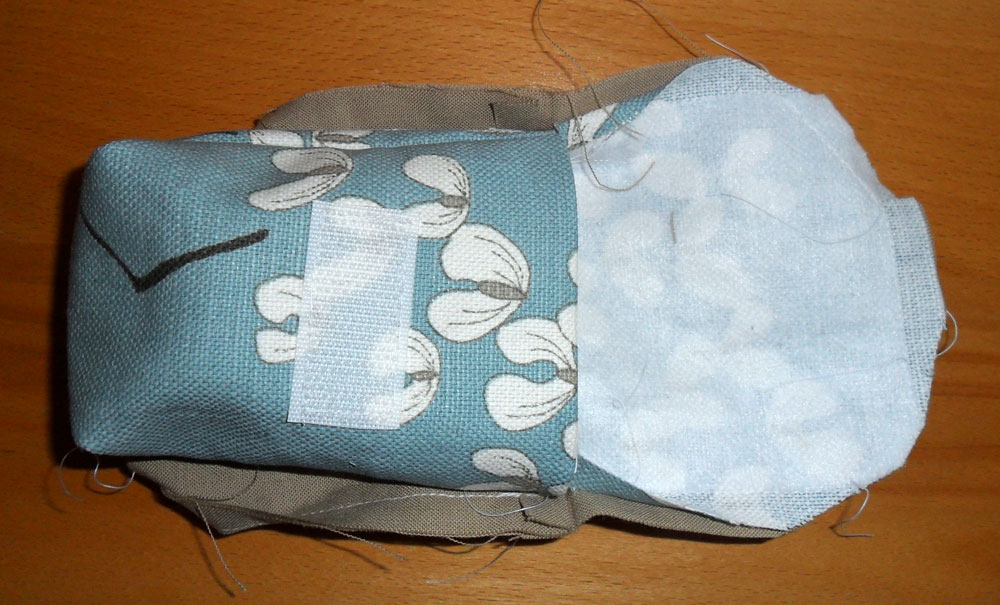

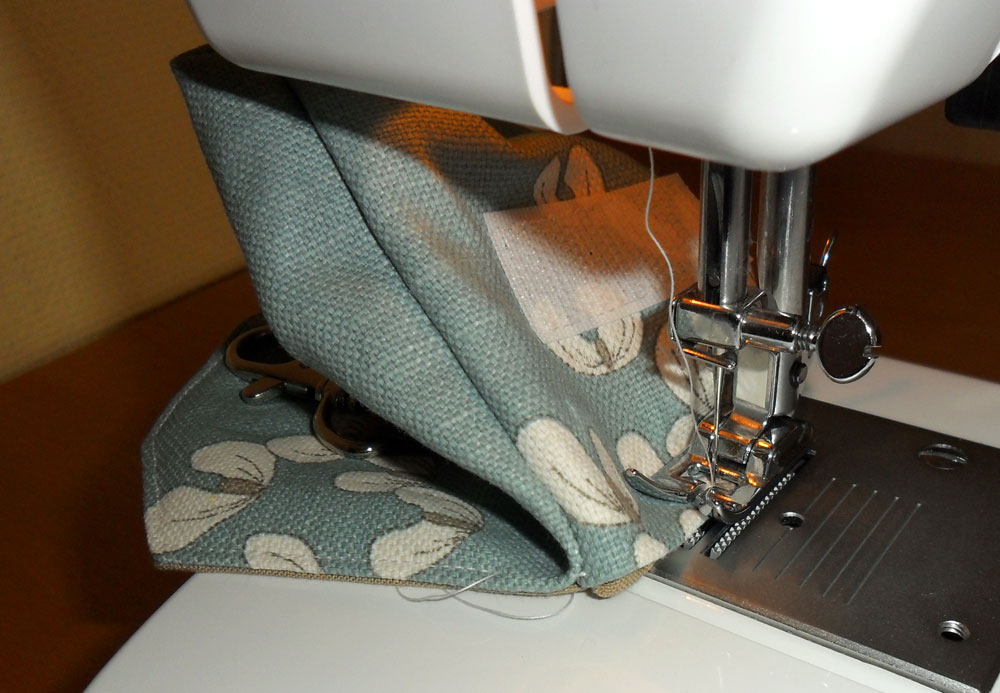
The lining is not turned over, but put into the outer pocket. Place the two temple edges exactly on top of each other and pin them in place.
The open edge now only needs to be closed. We sew along the edge once and then around the flap. You have to push and push a bit, but it works.
A little tip: If you have to change the direction when sewing (e.g. at a corner), leave the needle in the fabric, lift your feet, turn the fabric and then lower your feet again. So nothing can slip.
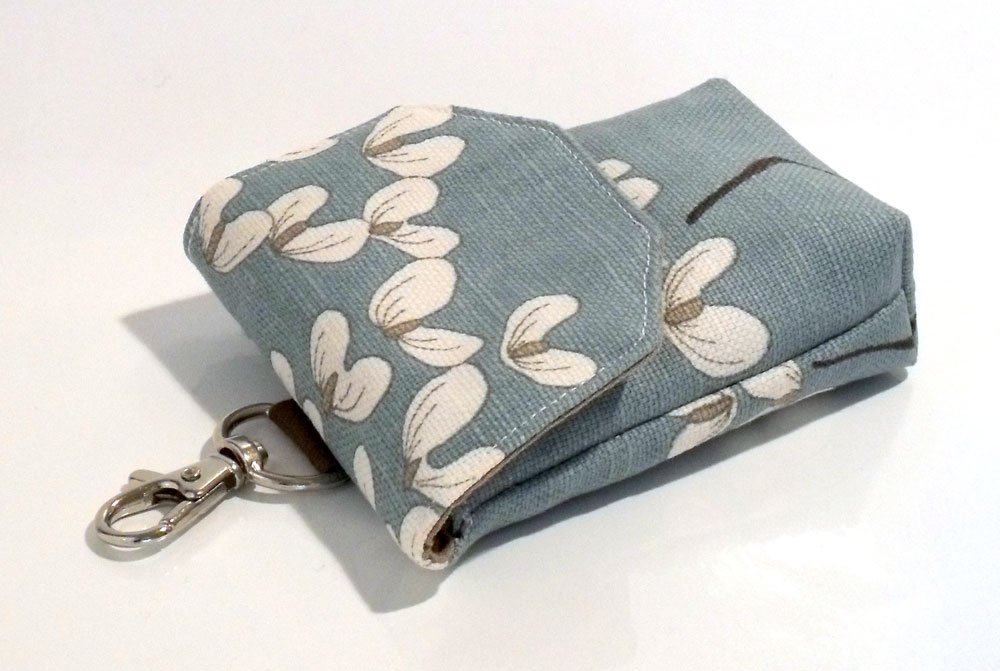
Then just put the camera in and the bag is ready!