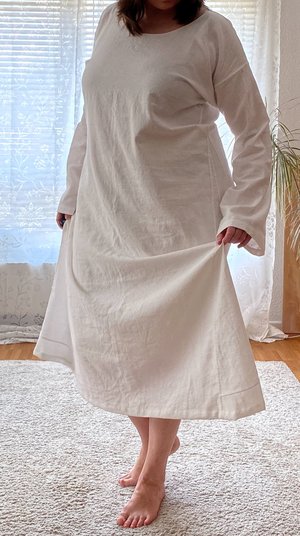
Medieval basics: shift "Primula"
Let's see, when did I announce my project "medieval outfit"? Oh, April! Well that took a while until I could show the first results. I have to admit that I kept putting the whole thing aside. The first part of my outfit is now finally finished, and I even sewed completely by hand. It's an amazingly relaxing evening activity after a day at the computer. At least I think so.
Historical sewing patterns are still something completely new to me. I try to be authentic, but with the best will I am not an expert. So if I misrepresent something here, please correct me. ;)
The absolute basic in the Middle Ages was the shift, which one wore regardless of gender both to sleep and under the outer clothing. The shirt was usually sewn from linen, which is excellent at absorbing moisture. As a result, both the body and the more expensive outerwear stayed clean longer.
Of course there are many different ways to sew such a shirt, but the basic construction is mostly similar. I decided on a pattern that makes maximum use of the fabric. In the past, fabric was an expensive raw material, sometimes even woven, so you don't want to waste anything. The shirt basically consists of two long rectangles, two more rectangles for the sleeves. Two square gussets are inserted into the sleeves to increase mobility. Two triangular gores in the side seams increase the hem width. The gores are also cut out of a rectangle.
If you are interested in the topic: You can download my pattern from the pattern maker. Various modifications are possible, the sleeves can be shortened or the wrists can be narrowed. The gores can also be attatched to the main part. The neckline is deliberately kept small, just enlarge it to match your clothing.
As I said, I sewed my shift entirely by hand. The sewing machine does it too, of course. My fabric is a linen / cotton mix. As I said, the cut only consists of rectangles. I saved myself the trouble of printing out the entire pattern and gluing it together. The individual lengths are indicated on the cut, so I just printed out the print preview and retyped the numbers, the font was a bit small in the printout.
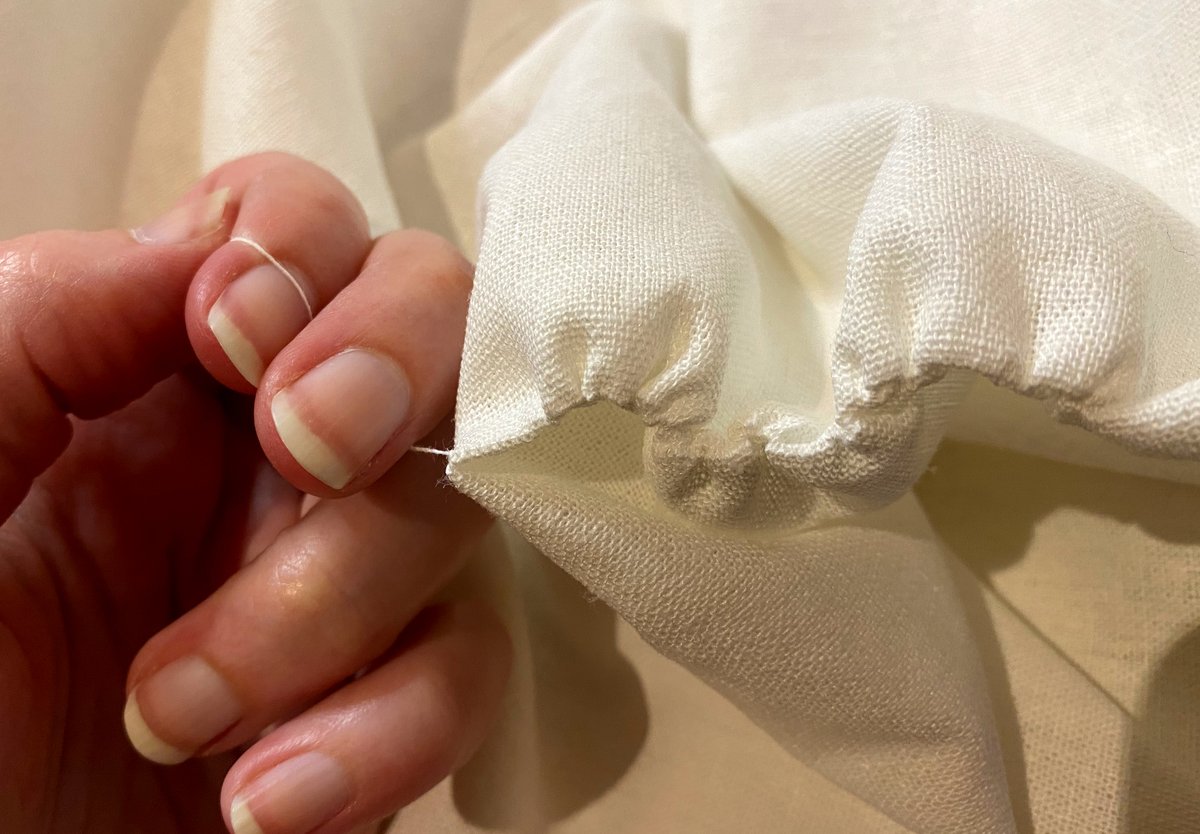
So that I could sew nice straight hems afterwards, I cut out the rectangles as precisely as possible onn the grain. I marked the respective values with and pulled out a single thread at these points. That made a nice straight edge that I could cut on.
This is time-consuming, unfortunately the threads tend to tear. But it's worth it and it's an authentic working technique.


First I got the gores prepared. A rectangle was cut for each ger and then divided diagonally. One of these triangles was turned and the two slightly shorter sides were sewn together. This created two equilateral triangles. The diagonally cut edges were on the outside and were later inserted into the main part.
Then I sewed the gussets into the sleeves. Well, I sewed the first gusset the wrong way round. Such a hand seam is amazingly stable, especially if you have to rip it open again ...
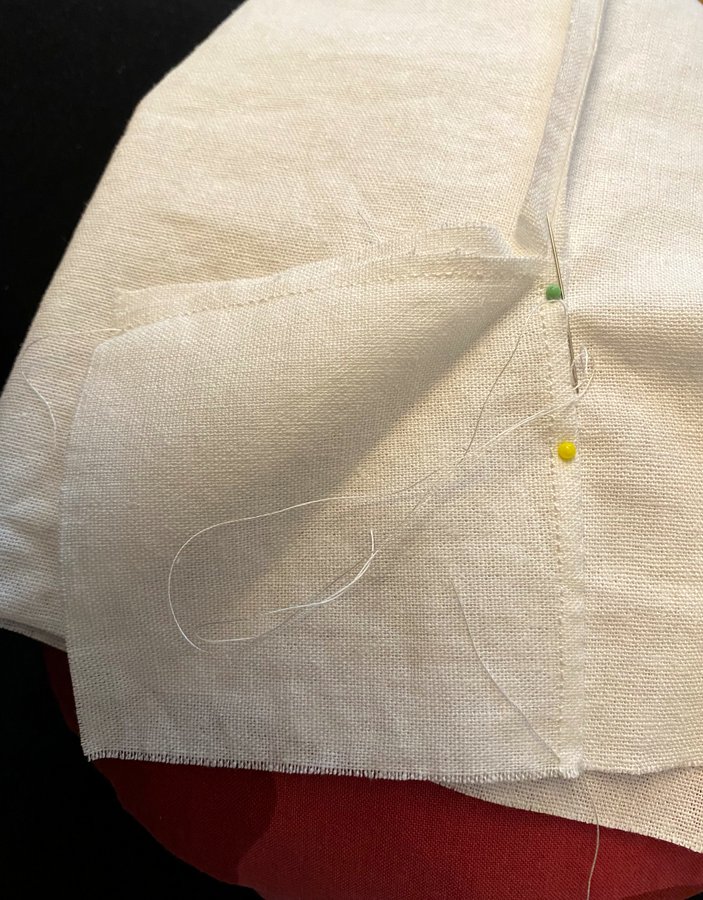
In any case, it is correct as shown in the picture: Two edges of the gusset are sewn to the long edges of the sleeve so that the sleeve seam ends in a triangle.
It's kind of hard to explain. It is important that the two edges of the gusset are next to each other and that the open edge points towards the end of the sleeve. This creates a little more space under the arm.
The other two sides of the gusset have been sewn into the side seams of the main part accordingly.
Unfortunately, I have to admit that I didn't take a lot of photos while sewing them together. Basically, the process of sewing is like this:
- Insert gusset in sleeves and sew sleeves together
- Close shoulder seams
- Insert sleeves
- Assemble gores and insert in side seams (the gores start in the waist)
- Hemming (rolled hems on the neckline, 2cm wide hems with folded seam allowances on the sleeves and the lower hem)
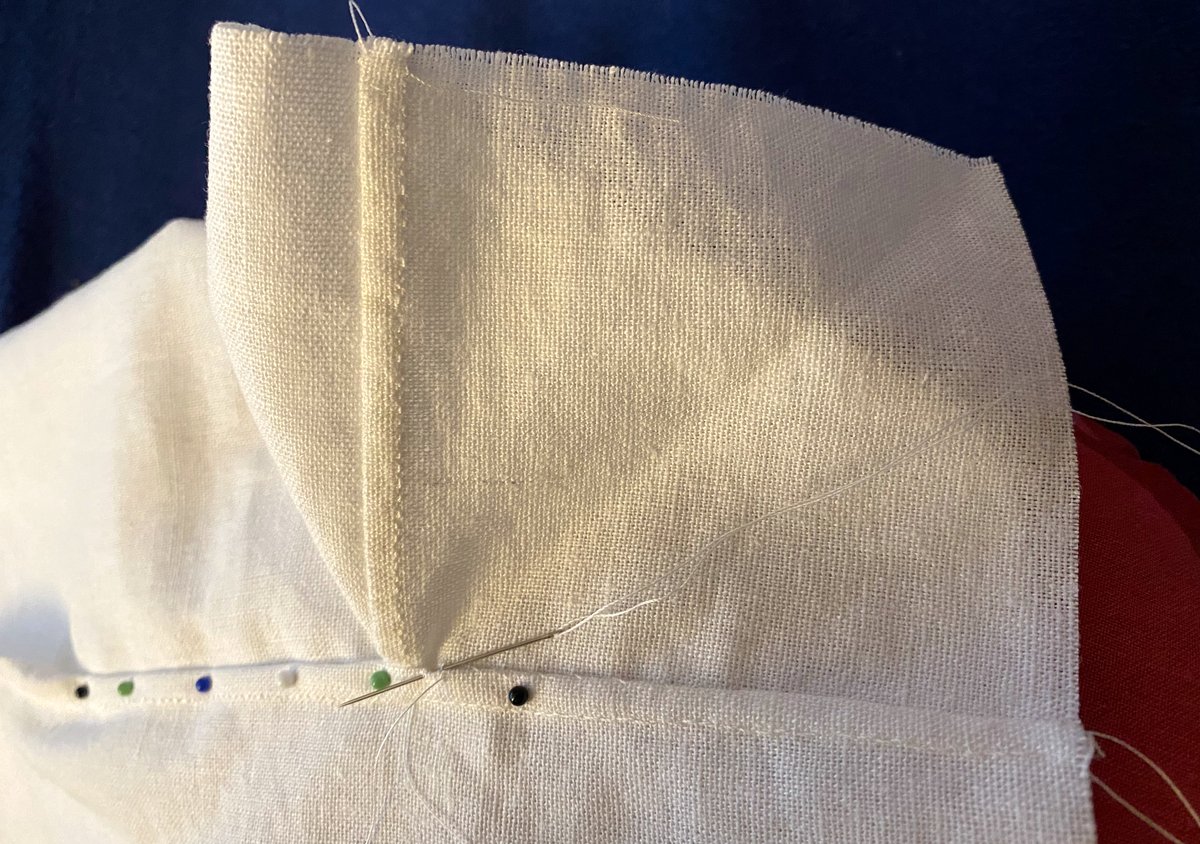
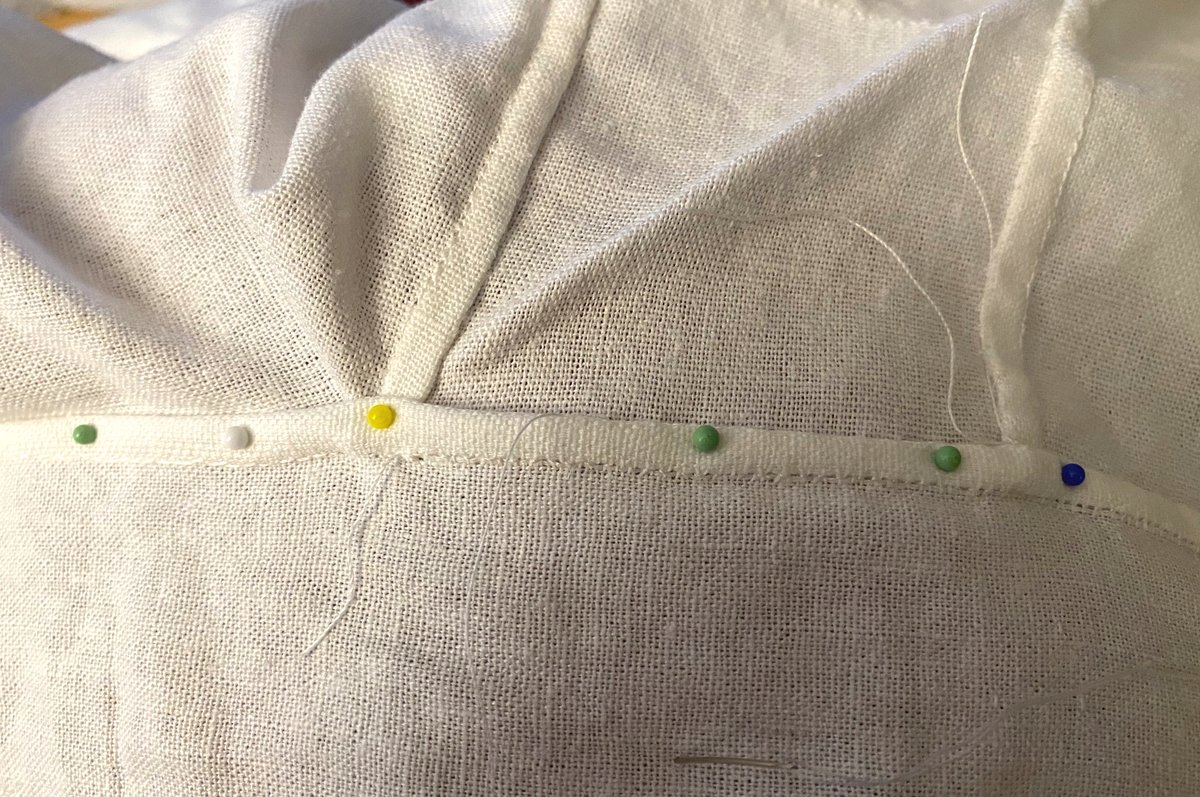
I mainly sewed with a backstitch, which results in a very durable seam that looks like a sewing machine at least from one side. I sewed the seam allowances as a felled seam, so I always cut back one side, folded the other over it and sewed it on. Let's see if I can document this again in more detail. Incidentally, I found it very helpful to pin the fabric to a pillow. It's like having a third hand holding the fabric.
That's it for the first part of my medieval outfit. How about you, have you ever sewed something "historical"?

